
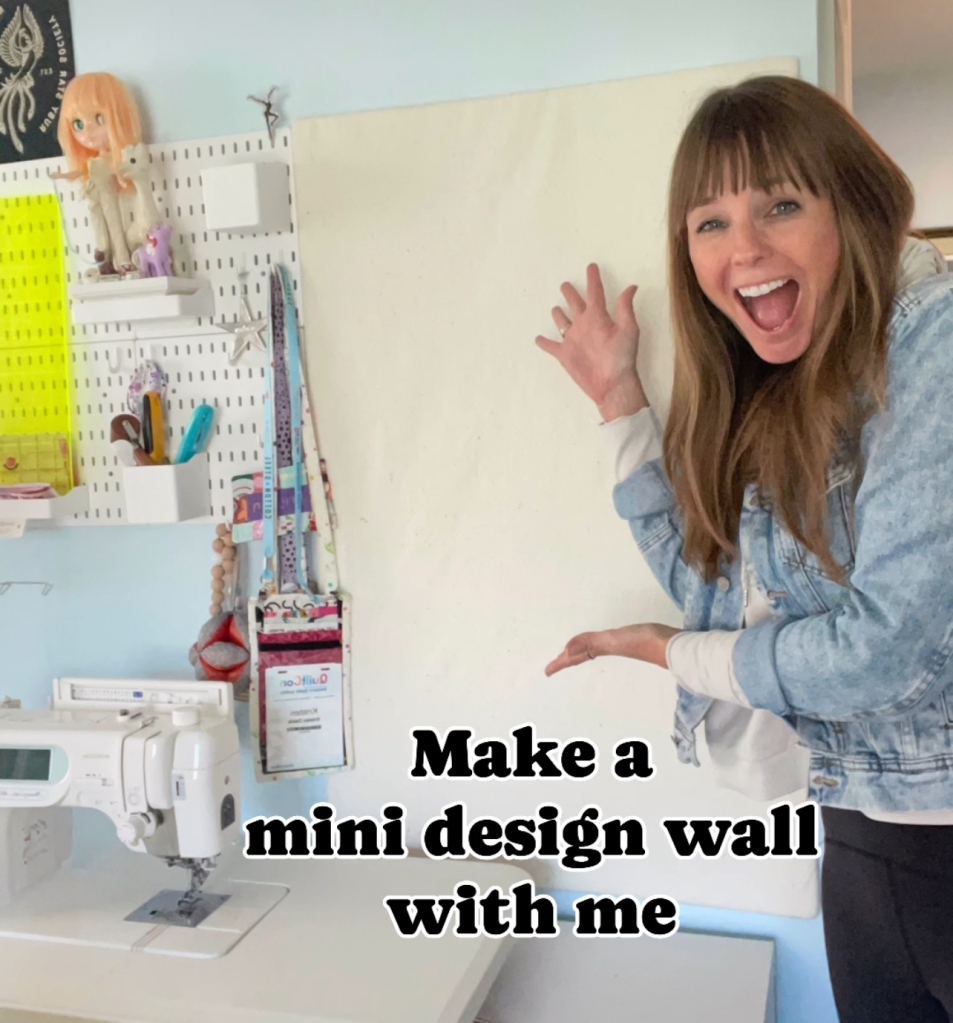
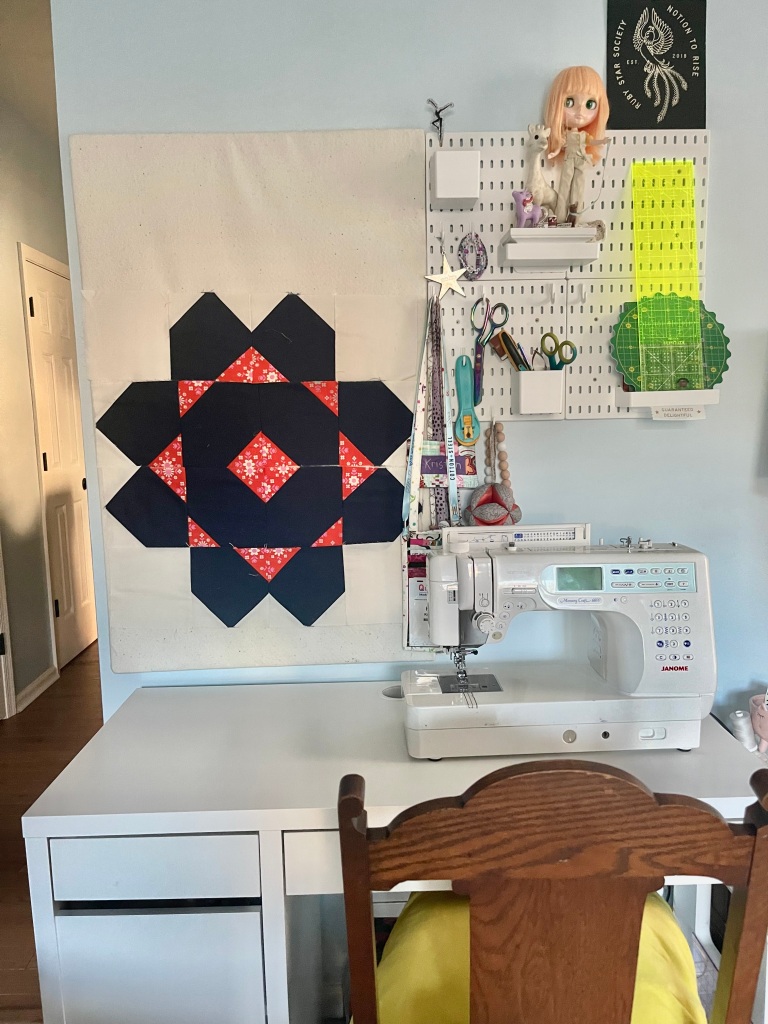
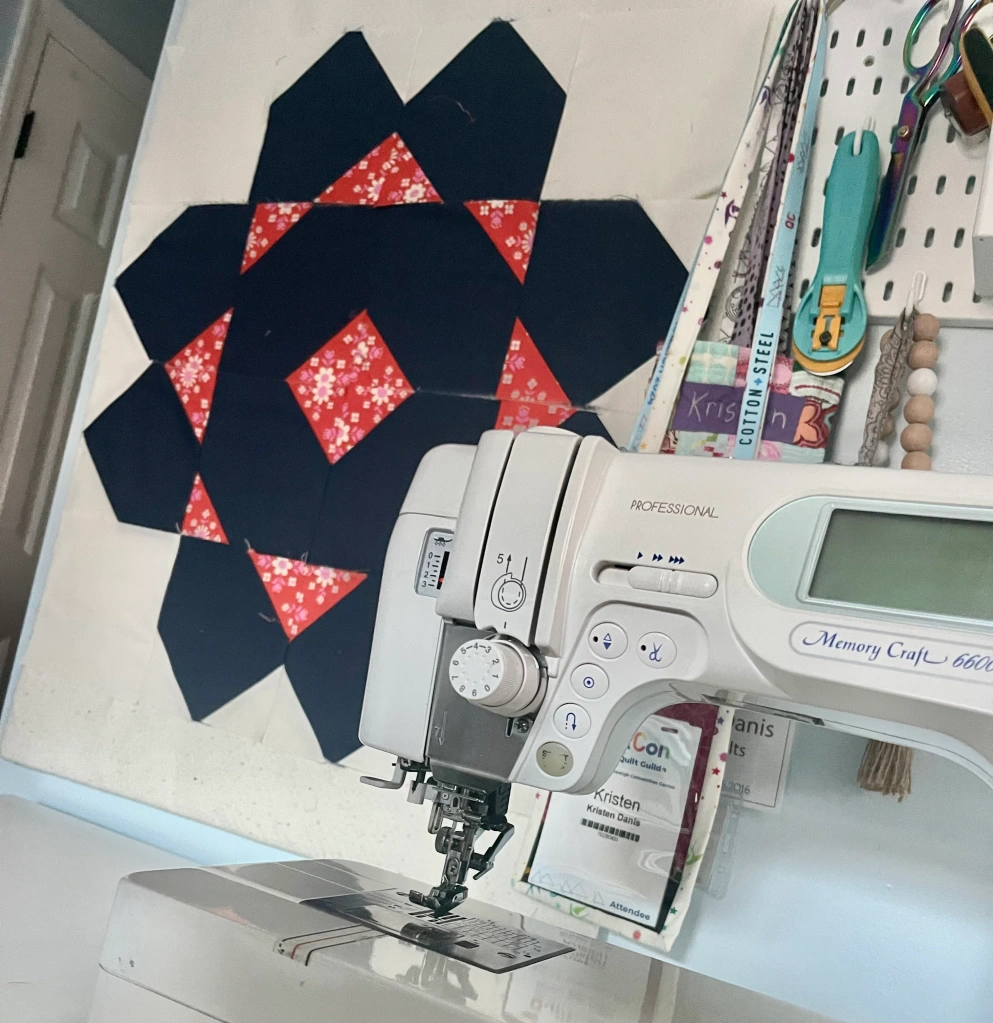
I have a full size design wall across the room, and it works wonderfully! I love being able to put up my finished blocks while a quilt top is in progress. When I got my long arm I had to downsize my sewing/cutting table from a giant dining room table (down from oversized auditorium doors) to a desk. So being as I always had giant sewing tables, I felt like I didn’t have enough room for all my sewing, cutting, block layout needs. That’s when lighting bolt hit, why don’t I take down the calendar above my machine and make a little design wall at my space. It’s large enough to hold a lot, but small enough to not over power the area or need any heavy duty materials.
I only needed a few things that I coincidentally already had on hand!
- Scrap Batting
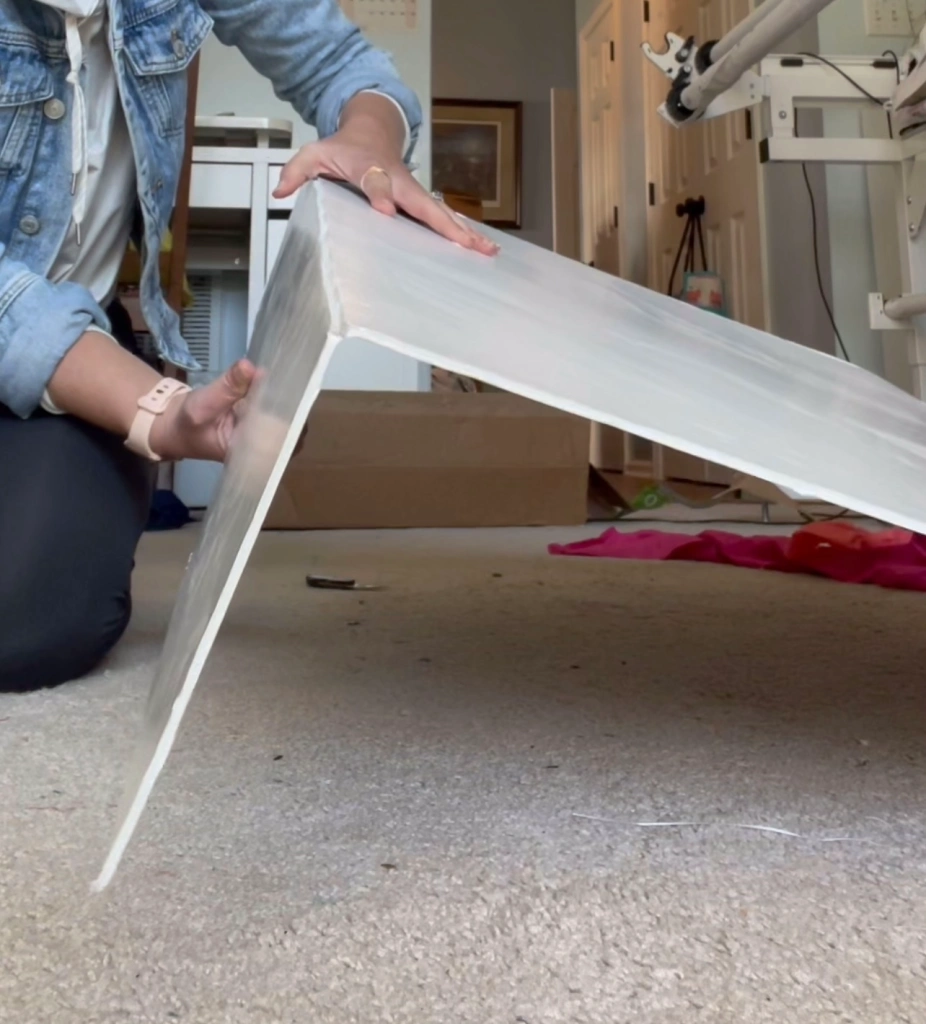
- Foam Poster Board
- Double Sided Tape
- 3M Command Strips
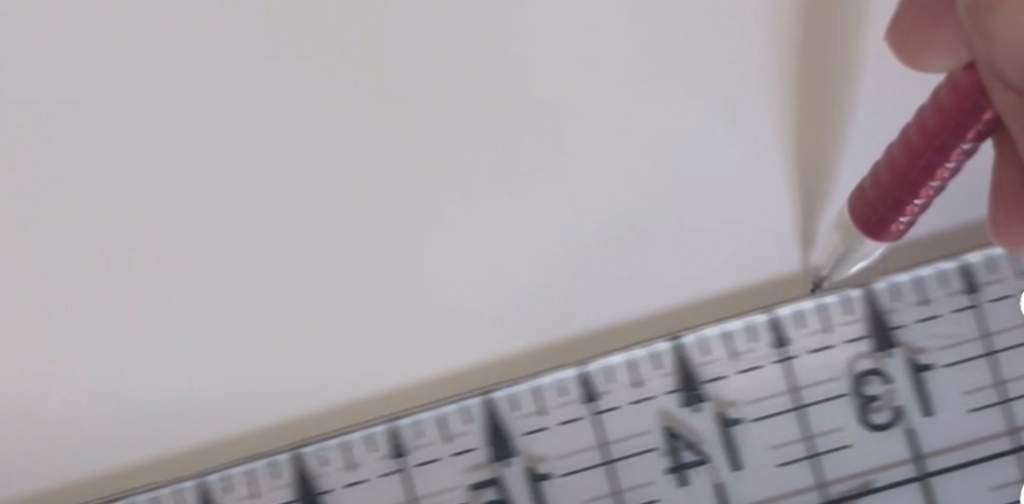
- Knife/scissors if needing to cut to size

Want to see the wall being made in sped up action? I posted a reel on my Instagram feed of me making my mini wall.

Leave a comment